Fapshi permits its users to create invoices for their clients; invoices serve as proof of payment. You can create a simple invoice showing the amount to be paid and a note for the client, or an advanced invoice including items, their quantities, prices, and total. Creating any of these will generate an invoice that will be automatically sent to your client’s email.
How to Create a Simple Invoice
A simple invoice permits both you and your client to have proof of payment. Here’s how you would create one: Step 1: Log into your dashboard and navigate to More > Payments > Invoices. Step 2: Click the “Create an invoice” button at the top right and select “Simple invoice”. Step 3: Fill in the required details, you can leave the note field empty if you don’t see the need to leave your client a message. Should you need to provide more details, such as the items, their prices, etc, create an Advanced Invoice instead.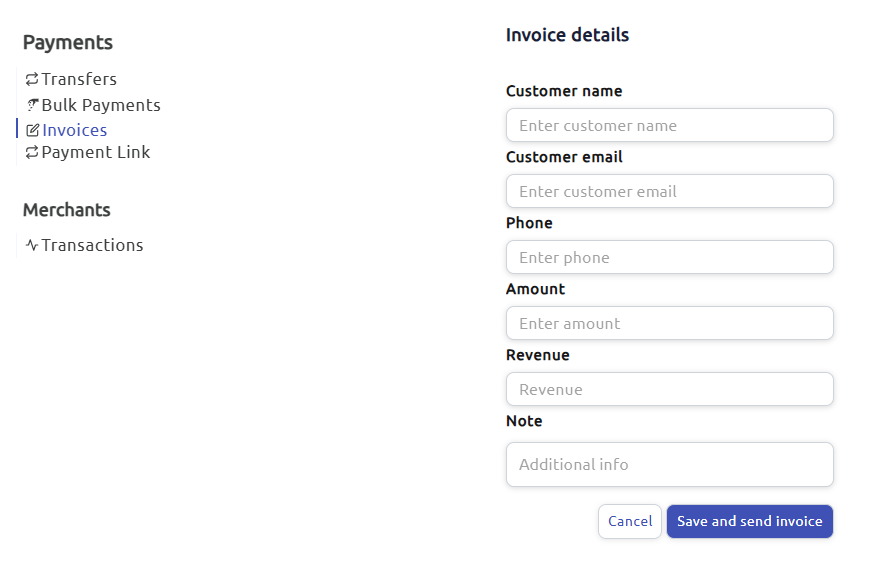
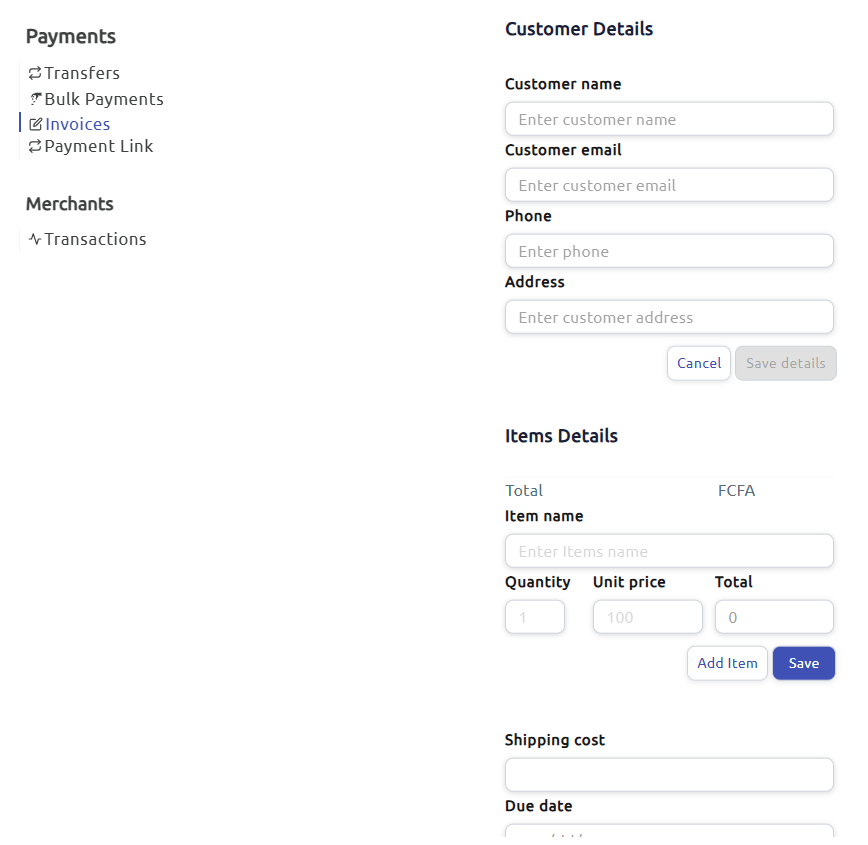
How to Create an Advanced Invoice
With advanced invoices, you can include as many items as necessary, their quantities and unit prices to the invoice. Basically, the advanced invoice conveys more information to the client. Below are the steps to create one: Step 1: Log into your dashboard and navigate to More > Payments > Invoices. Step 2: Click the “Create an invoice” button at the top right and select “Advanced invoice”. Step 3: Fill in the required details, add and save as many items as is needed for the invoice. You can leave the note field empty, if you don’t see the need to leave your client a message. If it is not necesary to include items in your invoice, create a Simple Invoice instead.